Leave Your Message

How to Replace Drier Filter in Refrigerator Efficiently?

Replacing the drier filter in your refrigerator is crucial for optimal performance. According to John Smith, an expert in refrigeration systems, “A clean drier filter can save you energy and extend your appliance’s life.” Understanding the role of the drier filter in a refrigerator is essential for effective maintenance.

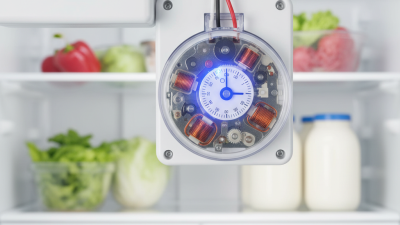
The drier filter regulates refrigerant flow and removes moisture. When this filter gets clogged, it can lead to inefficient cooling. Regular replacement ensures the refrigerator runs smoothly. Over time, many users overlook this task, leading to problems. Remember, neglecting small issues can result in significant repairs.

Cost is a concern, but the benefits outweigh it. A new drier filter can improve efficiency and reduce energy bills. If you notice ice buildup or strange noises, it may be time for a replacement. Stay vigilant about the health of your drier filter refrigerator.

How to Replace Drier Filter in Refrigerator Efficiently?

Understanding the Role of a Drier Filter in Refrigeration Systems

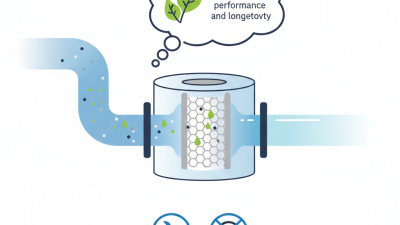
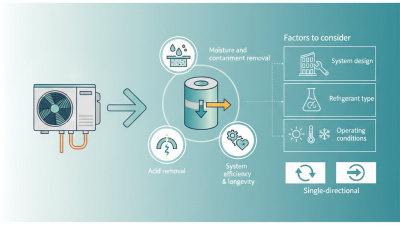
The drier filter is an essential component in a refrigerator's cooling system. It helps remove moisture and contaminants from the refrigerant. By doing so, it prevents freezing and damage to the compressor and evaporator. A well-functioning drier filter ensures efficient operation of your refrigerator.

When the filter is clogged, it can lead to poor cooling performance. You may notice unusual noises or temperature fluctuations. These signs indicate that it’s time for a check-up. Ignoring a failing filter can cause larger problems down the line.

**Tips for Efficient Replacement:**
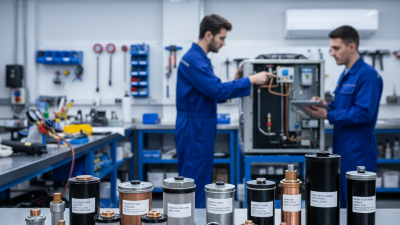
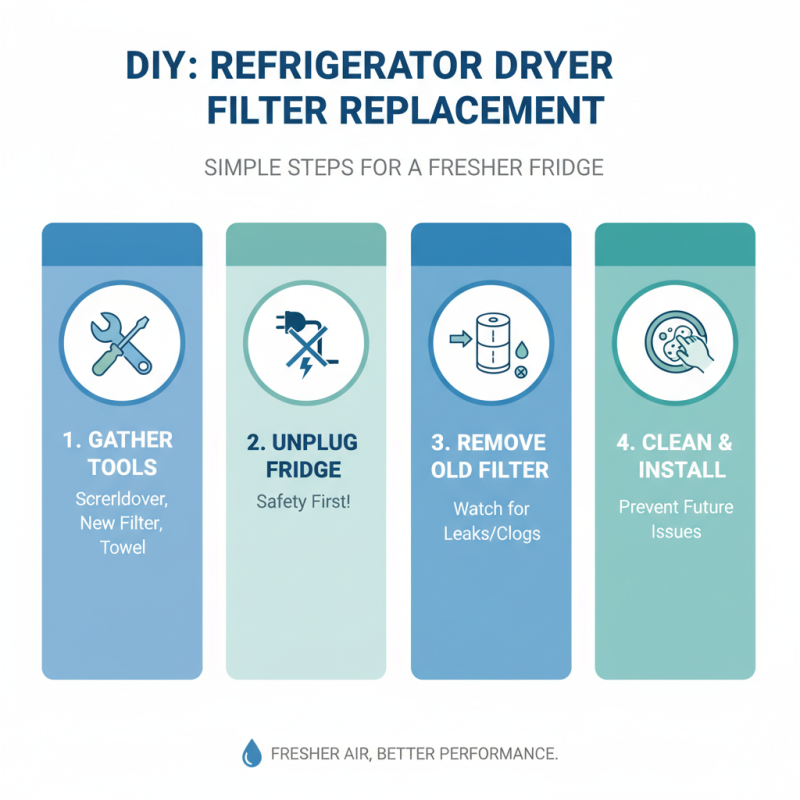
Make sure to turn off the power before starting the replacement. Gather necessary tools and a new filter before beginning. This can save you time. It’s helpful to review the manufacturer’s manual for specific guidance. Cleaning the area around the filter can also make installation easier.

Although replacing the drier filter is straightforward, mistakes can occur. Don’t rush through the process. Take time to ensure everything is correctly sealed. A small error may lead to leaks, which can be costly. Regular maintenance checks can extend the life of your refrigerator.

Identifying Signs that Your Drier Filter Needs Replacement

A drier filter in your refrigerator plays a crucial role in maintaining optimal performance. It's essential to stay alert for signs that it needs replacement. One clear indication is a decrease in cooling efficiency. If your food isn’t as cold as it should be, the filter might be clogged. This situation can lead to inconsistent temperatures, which is not ideal.


Another sign is unusual noises coming from the refrigerator. If you hear odd humming or rattling sounds, something could be wrong. These sounds often signal that the drier filter is struggling to keep up with the demands of the appliance. You might also notice frost buildup inside the fridge or around the freezer. This excess frost can hinder airflow and efficiency, indicating it’s time for a filter change.


Lastly, keep an eye on moisture levels inside the fridge. Excess condensation can point to a problem with the drier filter. It’s vital to address these signs promptly. Ignoring them can lead to larger issues down the line, costing more in repairs. You might find it inconvenient to replace the filter, but it’s necessary for the longevity of your refrigerator.

Essential Tools and Materials for Drier Filter Replacement

When replacing a drier filter in your refrigerator, having the right tools and materials is vital. You’ll need a screwdriver, preferably Phillips, to remove panels. Pliers can help with disconnecting tubes. Always have a bucket ready to catch any residual liquid. Rubber gloves protect your hands from sharp edges and chemicals.

Ensure you have the correct size of the drier filter. A wrong fit can lead to leaks or damage. Check the user manual for specifications. It’s easy to underestimate the importance of a sealant tape. This small item can prevent future complications. If you notice any rust or corrosion on parts, it’s worth considering replacements for those, too.

Preparation matters. Create a clean workspace to avoid losing small parts. Sometimes, even a small screw can slow down your progress. Keep your tools organized. Take a moment to reflect on your steps regularly. If unsure about the process, watching a tutorial video may help. Remember, rushing can lead to mistakes.

Step-by-Step Guide to Replacing the Drier Filter Efficiently

How to Replace Drier Filter in Refrigerator Efficiently?

Replacing the drier filter in your refrigerator can seem daunting, but it doesn’t have to be. Start by gathering the necessary tools: a screwdriver, a replacement filter, and a towel. Ensure the refrigerator is unplugged. This simple step can save you from accidents. Removing the old filter is usually straightforward, but watch out for potential leaks or clogs. Cleaning the area around the filter can help avoid further issues.

Once the old filter is out, compare it with the new one. Sometimes, there may be slight differences that can cause confusion. Take a moment to reflect on whether you have the right size. Align the new filter correctly and secure it in place. It’s easy to rush this step, but a secure fit is crucial. After that, plug the refrigerator back in and check for any unusual noises or leaks.

Don’t forget to monitor the refrigerator over the next few days. Adjusting to a new filter can take time, and it's easy to overlook small details. If something seems off, revisit the installation. It’s fine to admit mistakes; they help you learn. With patience and a bit of practice, replacing a drier filter becomes a manageable task.

Best Practices for Maintaining Your Refrigerator's Drier Filter

Maintaining your refrigerator's drier filter is essential for optimal performance. According to industry reports, a clean filter can improve energy efficiency by up to 15%. This can extend the lifespan of your refrigerator significantly. Regular maintenance helps prevent costly repairs and ensures consistent cooling.

Check the drier filter every six months. If you notice ice buildup or reduced cooling, it may be time to replace it. Signs of malfunction can signal bigger issues, which are often overlooked. Ignoring these signs can lead to increased energy consumption and irreversible damage.

Cleaning the filter should not be overlooked. Use a vacuum or compressed air to remove dust and debris. Make sure the filter is dry before re-installation. Misplacing this step may result in moisture retention, leading to mold growth. Always refer to the installation guide for proper handling. Small details matter, and paying attention can lead to significant improvements in performance.

How to Replace Drier Filter in Refrigerator Efficiently? - Best Practices for Maintaining Your Refrigerator's Drier Filter

Step Description Tools Required Time Required
1 Unplug the refrigerator and locate the drier filter. Screwdriver 5 minutes
2 Remove any screws or clips holding the filter in place. Screwdriver 10 minutes
3 Carefully take out the old filter and dispose of it properly. N/A 5 minutes
4 Install the new drier filter by reversing the removal process. Screwdriver 10 minutes
5 Plug the refrigerator back in and check for leaks. N/A 5 minutes