How to Diagnose and Replace a Refrigerator Capacitor?
Diagnosing and replacing a Refrigerator Capacitor can seem daunting. However, understanding this vital component is key to restoring your fridge's functionality. The Refrigerator Capacitor plays a crucial role in starting the compressor and maintaining efficiency. When it malfunctions, you may notice your refrigerator not cooling properly.
Experience shows that many common refrigerator issues stem from a faulty capacitor. Recognizing the symptoms of a bad capacitor can save time and prevent further damage. Strange noises, frequent cycling, or a complete lack of cooling indicate something is amiss. It’s essential to act quickly.
Gathering the right tools is necessary for a successful replacement. Having a multimeter to test the capacitor's condition is vital. Following proper safety protocols can help prevent accidents. While this task may seem challenging, with the right guidance, you can tackle it effectively. Understanding how to diagnose issues will empower you to maintain your appliance better over time.
Understanding the Role of a Capacitor in Refrigerators
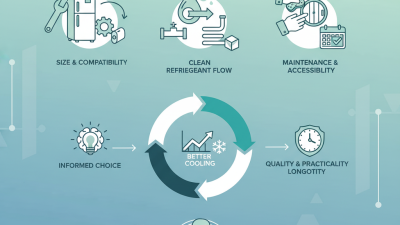
In a refrigerator, the capacitor plays a critical role. It assists the compressor during startup and runs the motor efficiently. Without a functioning capacitor, your fridge may face operational issues. It may struggle to maintain temperature or fail to start altogether. A faulty capacitor can lead to increased energy consumption and potential damage to the compressor.
Recognizing symptoms of a bad capacitor is essential for timely intervention. If you hear strange noises from the fridge or notice it running longer than usual, it could indicate capacitor failure. In some cases, a bulging or leaking capacitor is visible. Gathering details about the capacitor's specifications can help determine the right replacement part.
Replacing a refrigerator capacitor seems straightforward, but caution is necessary. Disconnect the power supply to avoid electric shock. Carefully note the wiring before removing the old capacitor. It is easy to misplace connections, which can lead to further complications. Taking time to verify connections ensures proper operation. Reflecting on these details can prevent future issues, leading to a more efficient appliance.
Signs of a Faulty Refrigerator Capacitor
A faulty refrigerator capacitor can lead to various problems. If your fridge is not starting, that’s a red flag.
Listen for humming noises. A working capacitor will hum, while a faulty one may be silent or click.
This inconsistency often signals issues.
Another sign is the fridge running intermittently. If it shuts off unexpectedly but starts again after a while, the capacitor might be
failing. Notice the compressor's behavior too. If it struggles to start, or if it feels hot to the touch,
these are signs to investigate further. Pay attention to temperature fluctuations inside your fridge.
Sometimes, there may be visual signs. Look for bulging or leaking components
around the capacitor. Dirt or burnt areas on the electrical connections indicate problems.
These details shouldn't be overlooked. If you notice any one of these, it's time to assess whether to replace the capacitor.
Take your time to observe the symptoms before making any decisions.
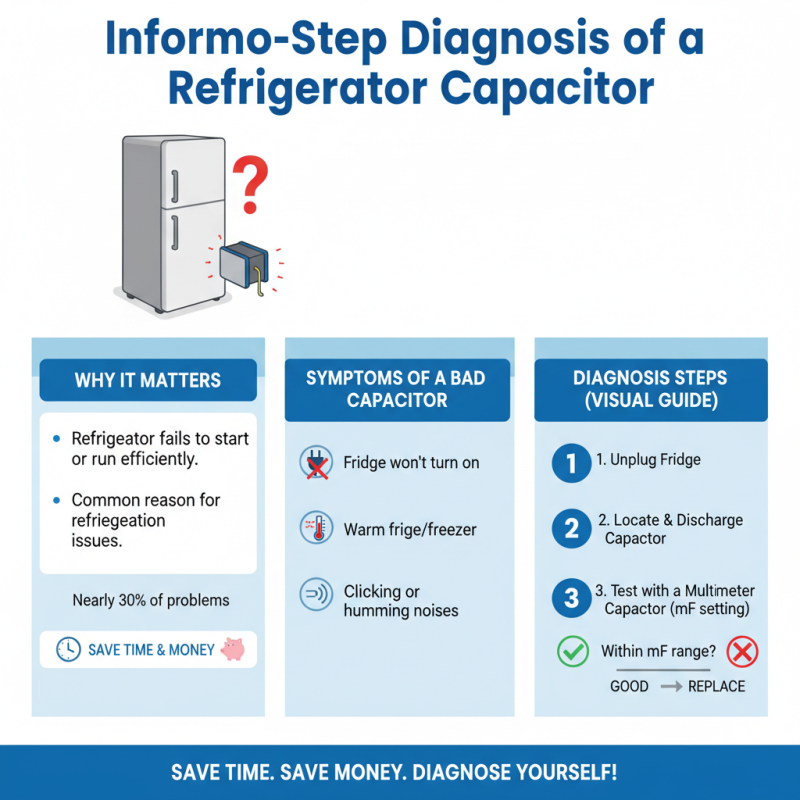
Step-by-Step Diagnosis of a Refrigerator Capacitor
Diagnosing a refrigerator capacitor can seem daunting. However, it's important. A faulty capacitor is a common reason for a refrigerator failing to start or run efficiently. Industry reports show that nearly 30% of refrigeration issues stem from capacitor problems. Understanding this can help save time and money.
Begin with the power source. Ensure that the refrigerator is plugged in and receiving power. A multimeter can be used to check voltage levels. If the voltage is irregular, it might indicate a faulty capacitor. Next, inspect the capacitor visually. Look for bulging or leaking, which signifies a need for replacement. According to a study by the Evaporator Efficiency Council, damaged capacitors could lead to energy inefficiencies of up to 15%.
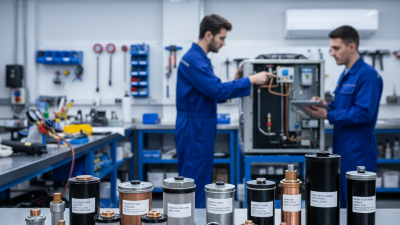
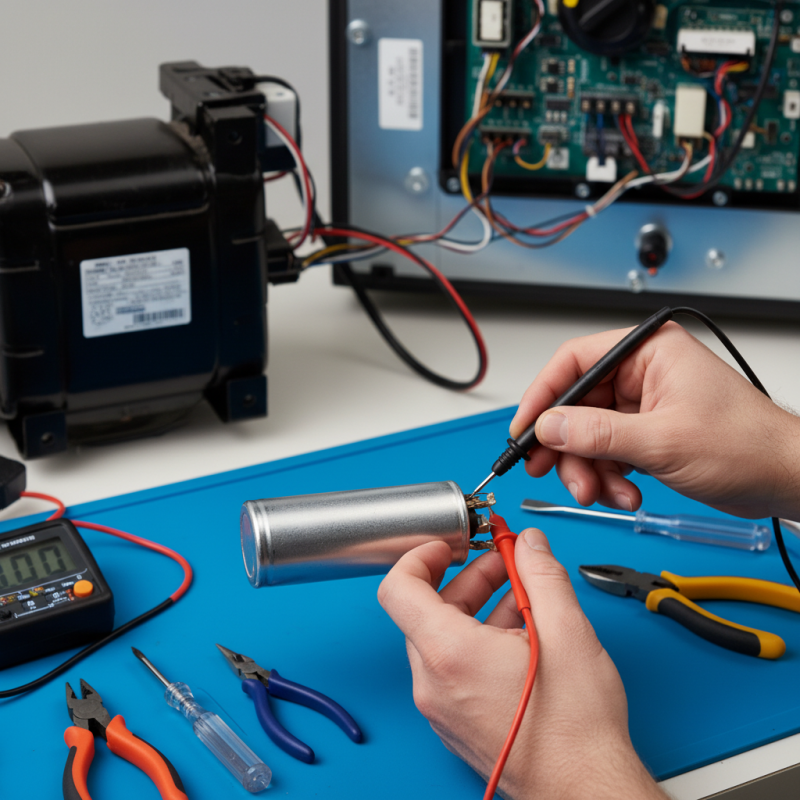
To replace the capacitor, first disconnect the power supply. Safety is key. Use proper tools, ensuring you have a clean workspace. Replace the old capacitor with a new one that matches specifications. Remember, taking this step may require troubleshooting experience. It's common for individuals to overlook simple checks that lead to costly repairs. A systematic approach can prevent frustration.
How to Safely Replace a Refrigerator Capacitor
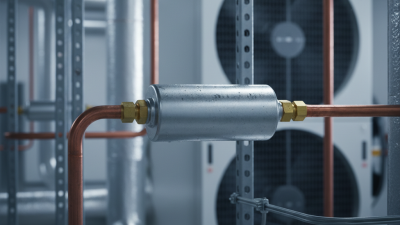
When it comes to safely replacing a refrigerator capacitor, proper preparation is crucial. Start by unplugging the refrigerator and allowing it to sit for at least 15 minutes. This pause helps dissipate any stored energy in the capacitor. Always wear safety goggles and gloves to protect yourself from electrical shocks. It’s wise to keep a multimeter handy to ensure the capacitor has no charge before you start.
Tip: Take photographs of the connections before removing the old capacitor. This simple step provides a visual guide for reassembly. Work in a well-lit area, as visibility is key when dealing with small components. If you're unsure, consult the refrigerator’s manual for specific guidance related to your model.
As you remove the old capacitor, handle it carefully. Capacitors can be bulky and unwieldy, and they can sometimes be difficult to reach based on the refrigerator's design. Reflect on the orientation of the new capacitor before installing it. Incorrect placement may lead to further issues or even damage.
Tip: Use zip ties or small clips to secure any loose wiring during the process. A tidy workspace minimizes confusion and enhances safety. Keep in mind that if the replacement does not resolve the issue, further troubleshooting may be required.
Refrigerator Capacitor Replacement Frequency
This bar chart shows the frequency of refrigerator capacitor replacements in different home appliances over a year.
Post-Replacement: Testing Your Refrigerator Functionality
After replacing your refrigerator capacitor, it’s essential to verify its functionality. Begin by plugging your refrigerator back in. Listen for any odd sounds. A humming or buzzing noise could indicate an issue. Monitor the compressor; it should cycle on and off quietly without excessive noise.
Next, check the temperature settings. Place a thermometer inside the refrigerator and freezer. Ensure they reach the recommended temperatures within a few hours. If the temperatures remain too high or too low, this may signal a problem with your replacement. Inspect the door seals for any gaps. Air leaks can affect cooling efficiency.
Lastly, don't forget to keep an eye on ice buildup. Excess ice could hinder airflow. If you notice irregularities, revisit your connections and wiring. A faulty installation can be tricky. Reflect on your steps during the replacement. Sometimes, rectifying a small mistake goes a long way. Trust your instincts, and don’t hesitate to seek professional help if needed.